We use affiliate links. If you purchase something through the links on this page, we may receive a commission at no cost to you. Learn more.
REVIEW – I’m still a newbie in the world of 3D printing, but I’m enjoying the learning process. Since I tested a small toy 3D printer a few years ago, I have remained interested in this hobby. A few printers later, I’m starting to get the hang of it and was super excited when the opportunity arose to test out the Bambu Lab A1 mini 3D printer. What makes the A1 mini so interesting? It makes multicolor prints easy and fun! Let’s take a look.
What is it?
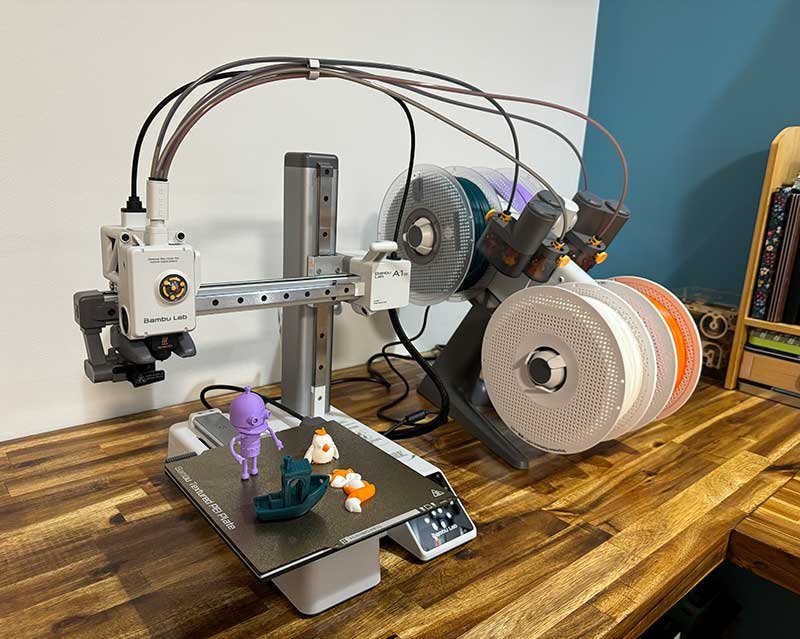
The Bambu Lab A1 mini is a 3D printer that can work with Bambu’s 4-color filament automatic material system AMS Lite accessories.
What’s in the box?
- Bambu A1 mini 3D printer
- AMS Lite case
- AMS Lite stand
- Accessory box
- Bamboo filament pattern
- Sample filament
- Quick Start Guide
Specifications
Click to expand specifications
Construction volume (W*D*H): 180*180*180 mm³
Hot End: All-metal
Nozzle: stainless steel
Maximum hot end temperature: 300°C
Nozzle diameter: 0.4mm (included), 0.2mm, 0.6mm, 0.8mm (optional).
Heated bed construction plate: Bambu Textured PEI Plate (included), Bambu Smooth PEI Plate (optional)
Maximum temperature of the building board: 80 °C
Speed Maximum speed of the tool head: 500 mm/s
Maximum acceleration of the tool head: 10 m/s²
Supported Filaments: PLA, PETG, TPU, PVA Ideal, ABS, ASA, PC, PA, PET, carbon/glass fiber reinforced polymer not recommended
Sensors Surveillance Camera: Low frame rate camera (up to 1080P), time-lapse support
Filament runout sensor: Yes
Filament Odometry: Yes
Power failure recovery: Yes
Filament tangle sensor: Yes
Physical dimensions: A1 mini: 347*315*365 mm³
Net weight 5.5 kg, gross weight 8.2 kg
Assembly
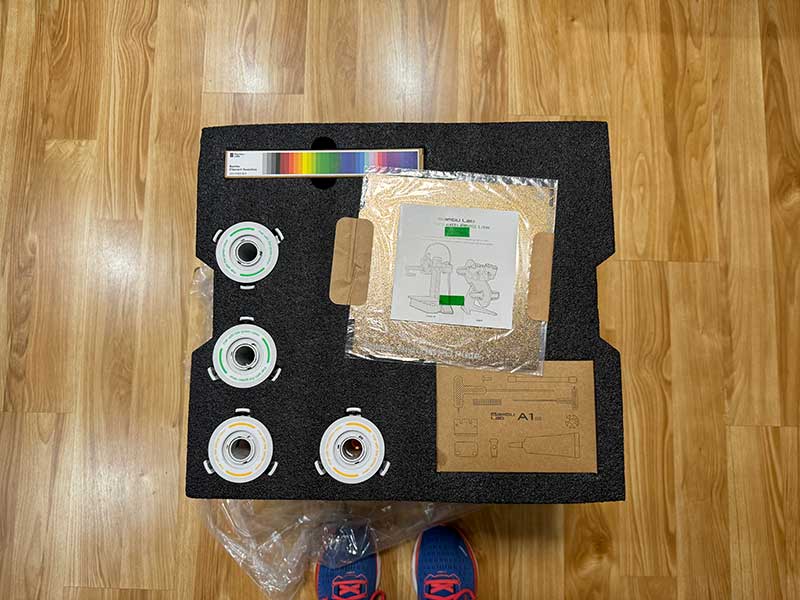
The Bambu Lab A1 mini 3D printer comes in a well-packaged large box.
Except for a pair of scissors for cutting the cable ties, everything you need for easy installation is included in the delivery.
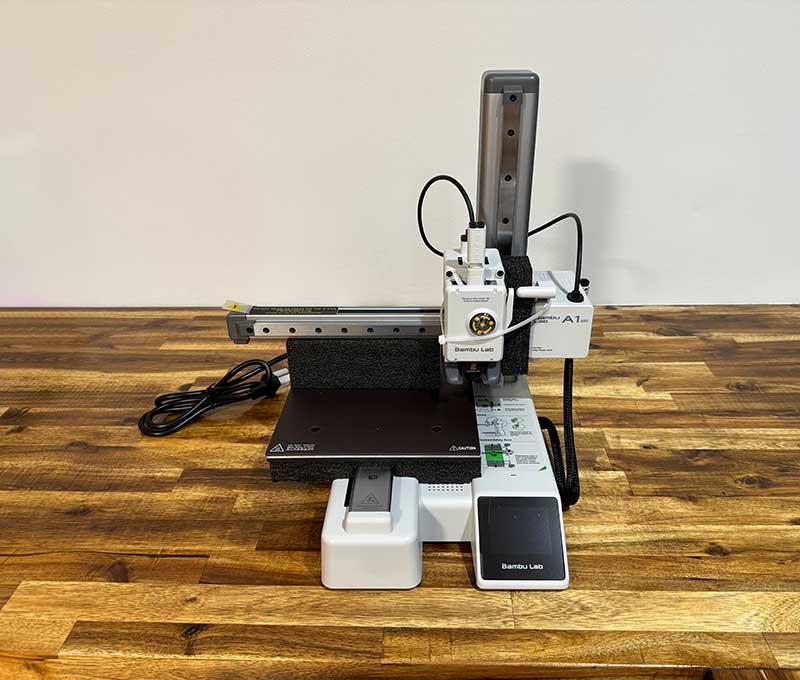
The Bambu Lab A1 mini 3D printer itself is about 98% assembled and requires minimal effort to set up.
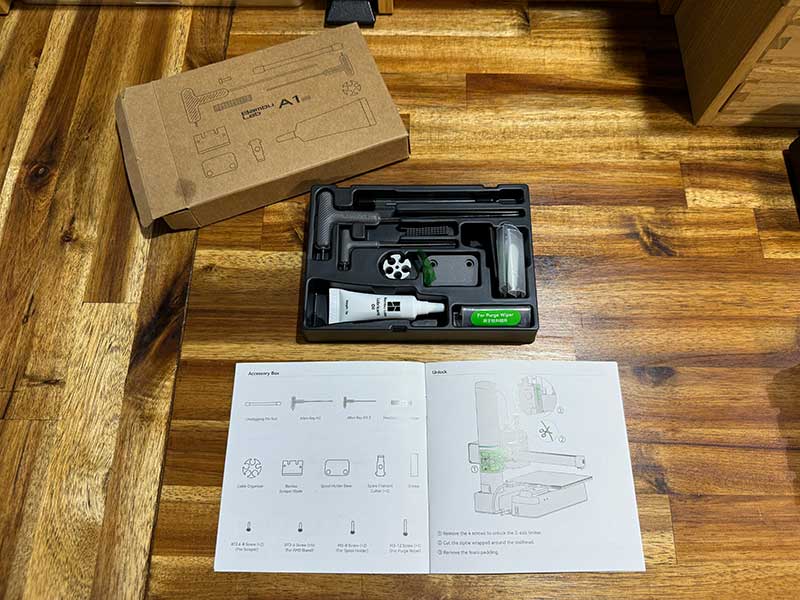
A small selection of tools will help you with the final assembly, which essentially consists of just a few screws.
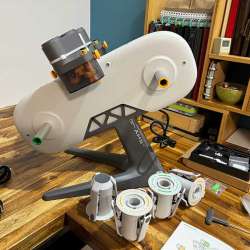
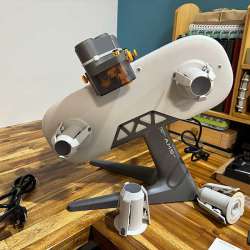
Assembling the AMS Lite is just as easy. All you need to do is attach the base, attach the filament spool holders and finally attach the filament tubes.
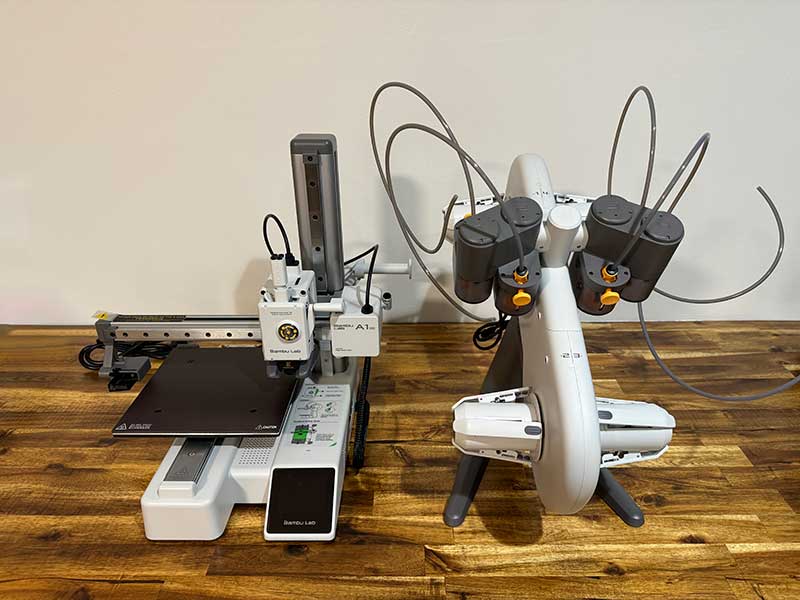
Connecting the filament tubes between the AMS Lite and the Bambu Lab A1 mini 3D printer is essentially plug-and-play.
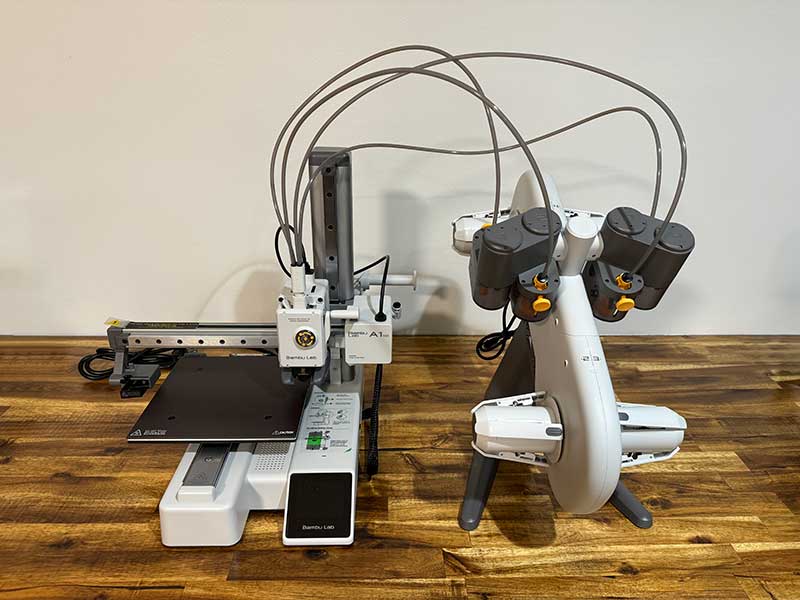
Note that although the Bambu Lab A1 mini 3D printer has a relatively small footprint compared to many other 3D printers, you will need enough desk/table space if you choose to purchase the package with the AMS Lite unit decide.
The AMS Lite is a separate unit that can be purchased as an option for the A1 mini. This allows you to send up to 4 filaments to the Bambu A1 mini printer. The AMS has built-in motors that grab the end of the filaments and feed them through individual feed tubes to the A1 Mini printhead. I’ve never used an AMS system before and was quite surprised when I added a roll of filament and started feeding the filament and the AMS Lite grabbed it and started feeding it in automatically. The AMS also magically knows which filament you have in each slot (if you use Bambu filament). I believe there is some kind of NFC tag used in the coil. But when I saw this for the first time, I was blown away.
Design and functions
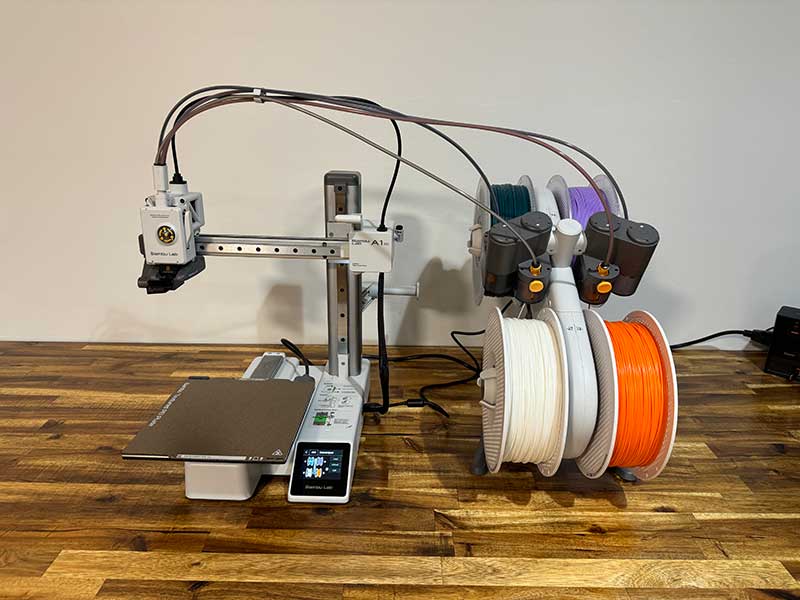
The Bambu Lab A1 mini 3D printer is a well-made compact 3D printer with a color touchscreen at the base. This is what 3D printers call a bed-slinger style 3D printer. It is equipped with a bed that moves in the Y direction and a print head that moves in the X direction and up and down. Speaking of the bed, it is small with a build volume of 180 x 180 x 180 mm (7.25 x 7.25 x 7.25 inches).
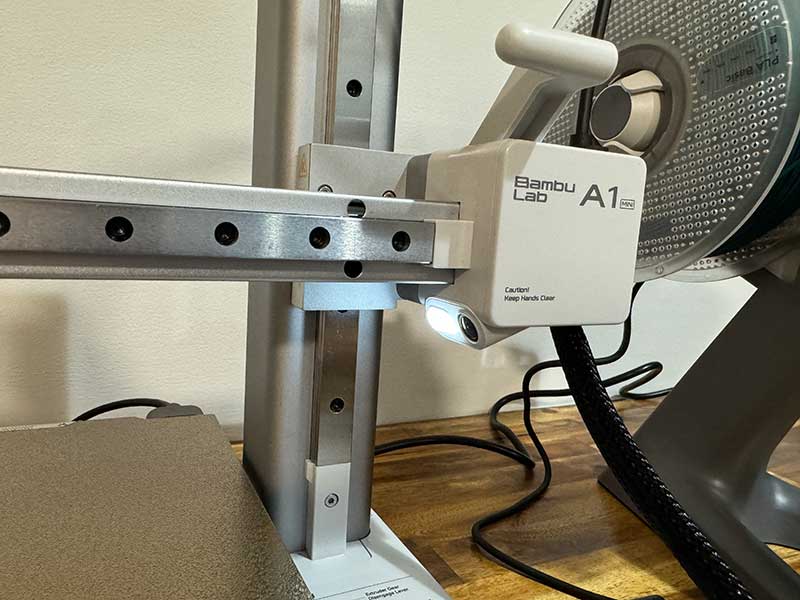
It also has a built-in camera and light that allows you to record time-lapse videos of your prints and view them in real time when you’re away from the printer.
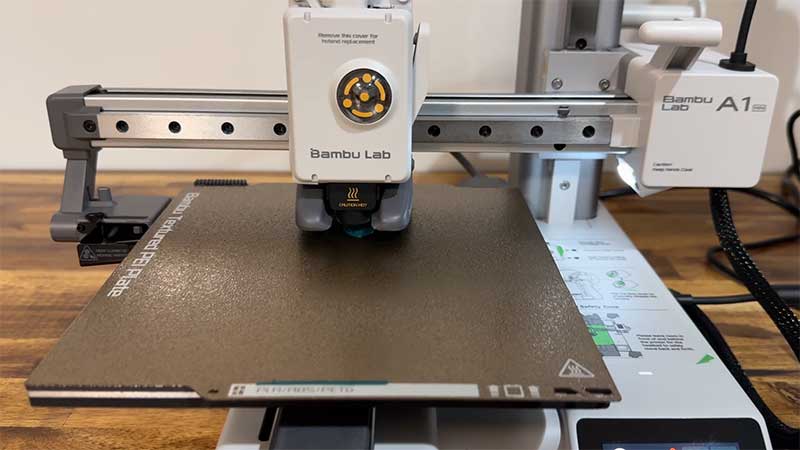
The printer comes with a textured PEI build plate that I really enjoy using. Unlike the other 3D printers I’ve tested with regular plates, this one leaves an almost sparkling texture on the bottom of the prints, and the prints are easily removed without leaving any residue on the plate – at least so far.
Let’s print!
Sending prints to the A1 Mini 3D printer can be done using the Bambu Studio desktop software, the Bambu Handy mobile app, or even by copying the models to the microSD card. The app methods allow you to select from Makerworld’s print library and then prepare (slice) it for the printer.
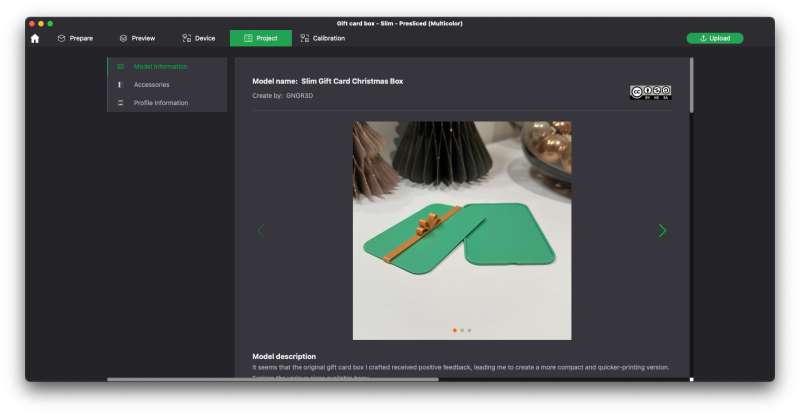
I primarily used the Bambu Studio desktop application (see above), but I also installed the Bambu mobile app on my iPhone. It’s a good idea to have both as they both use the cloud and notify you when printing is complete or if a problem occurs during the printing process. Even if you start printing from the desktop app, the mobile app displays notifications.
When you select a model and slice it, you can also choose which filament colors you want to use. It displays the spools installed on the AMS Lite and allows you to assign colors to the different parts of the print if necessary.
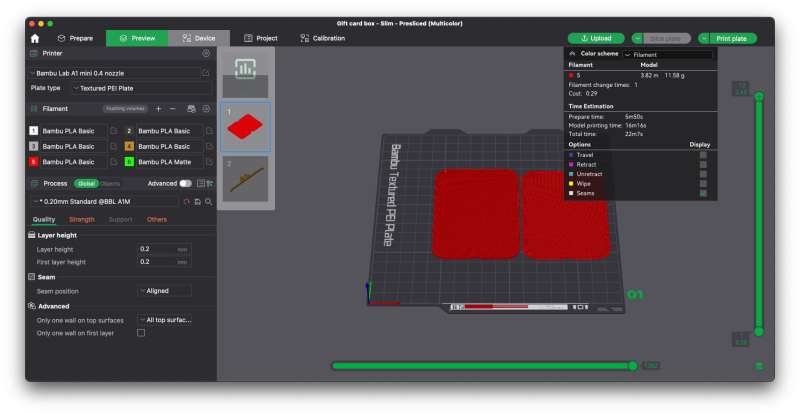
The software allows for numerous customizations depending on what you need for each print. For example, you can choose from different types of supports.
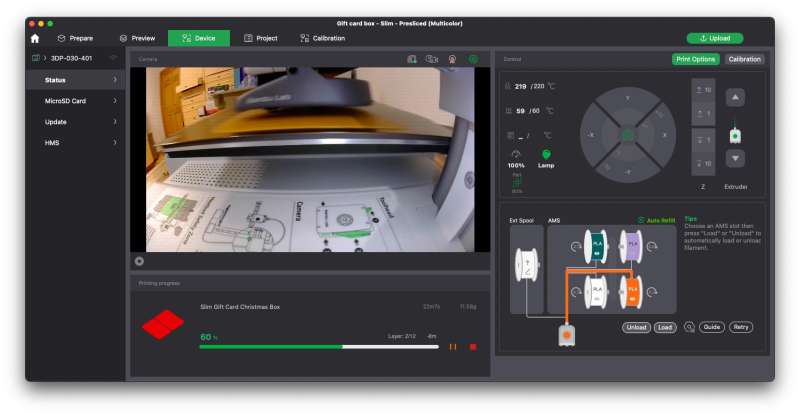
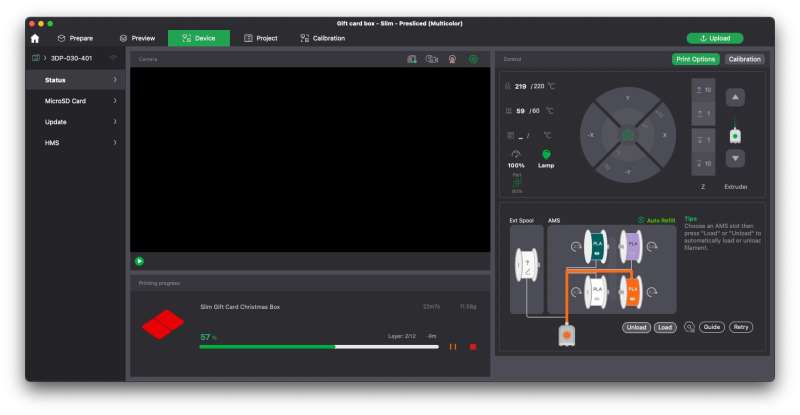
You can also check the status of the print with a live view from the camera built into the Bambu Lab A1 Mini printer.
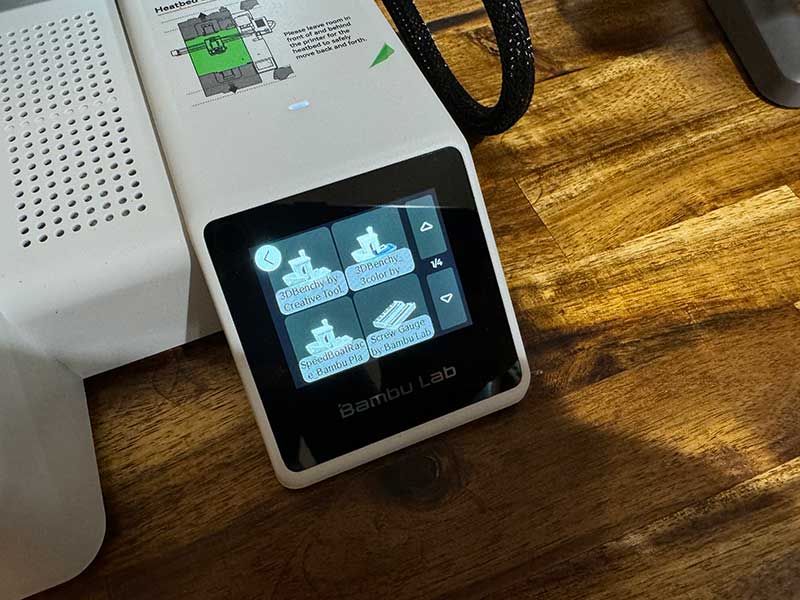
There are even some printouts loaded into the printer itself, which you can access via the printer’s touchscreen.
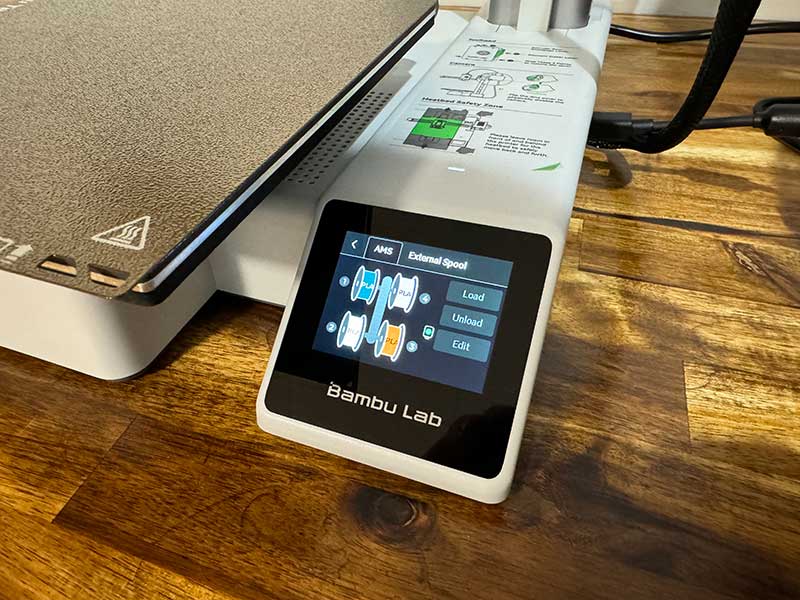
You can also change the color of the print using the touchscreen.
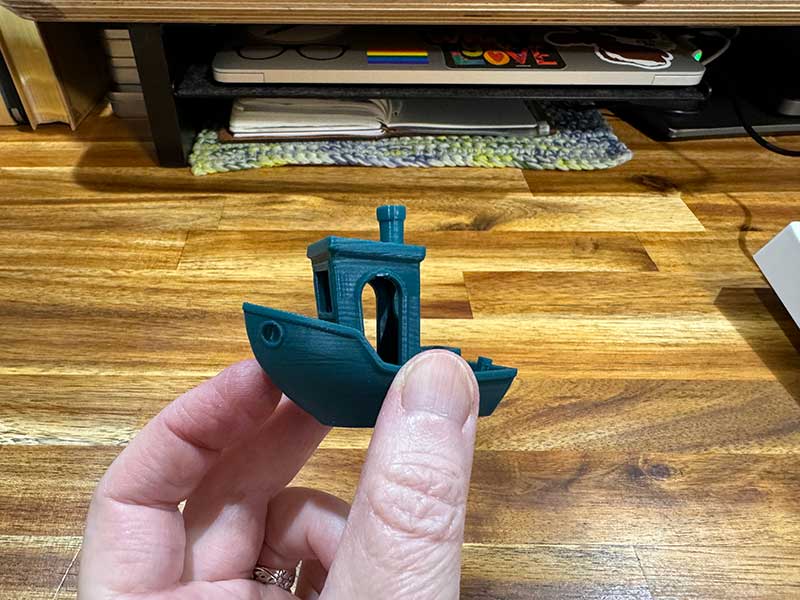
Of course, the first model I printed was a Benchy, because that’s the equivalent of writing a “Hello World” program. This way you can eliminate the problems of a new printer and see what it is capable of. You can see the result in the image above. This is exactly what the print looked like when I pulled it off the build plate. It was the most perfect bench I’ve ever printed without any strings. I think it was also the fastest bench press I’ve ever done, at around 15 minutes.
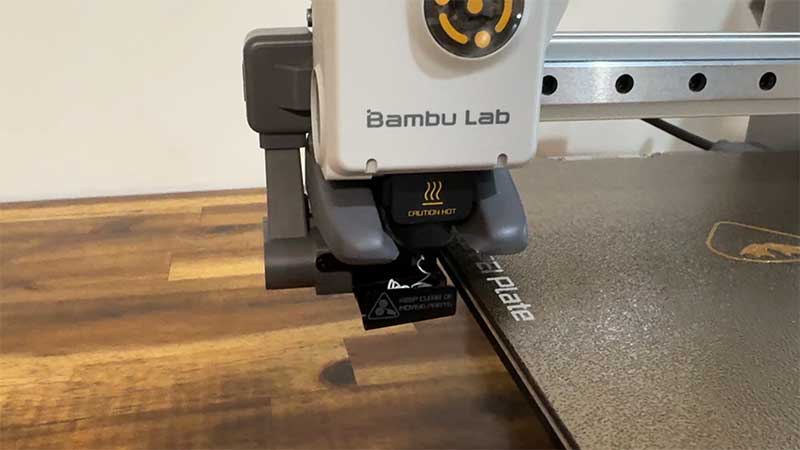
I’ve already mentioned that AMS Lite allows you to print multiple color models more easily, but there’s a catch, and that catch is called Shit. What the hell is poop? This is the additional filament that is extruded to remove a previous color and prepare for printing the next color.
The printer has a so-called rinsing wiper (see above). It collects a strand of extruded filament and then sweeps it from the nozzle tip.
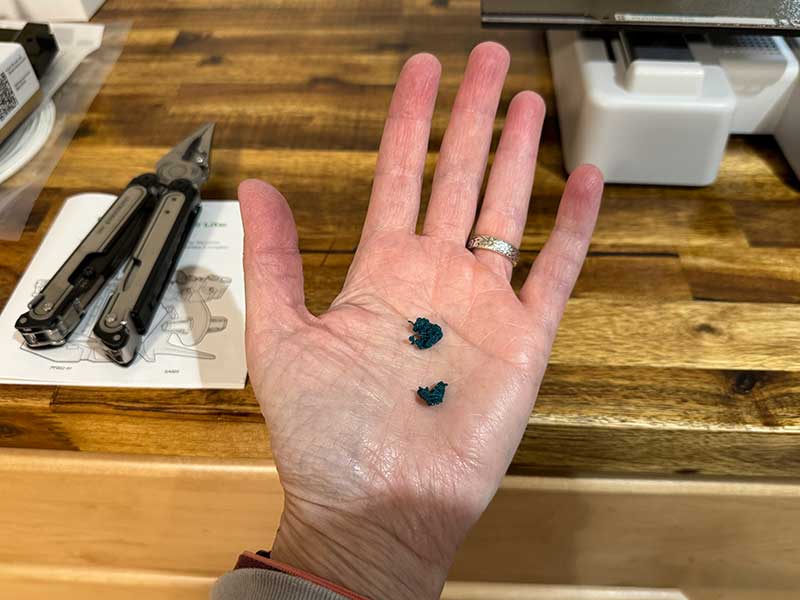
These blobs are called poop. When I printed out the bench model, it created two small blobs of filament that you see above. But…
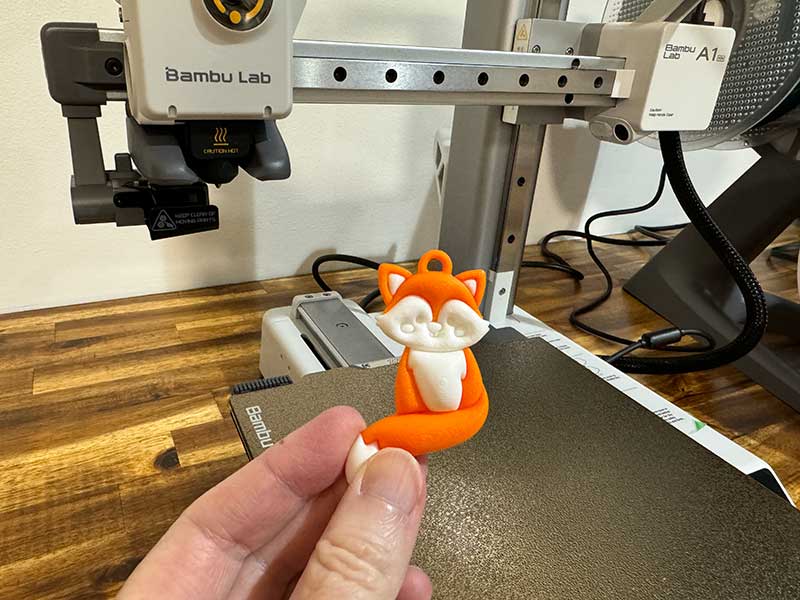
When I printed a multi-colored model of a fox, things were different because there was A LOT more poop!
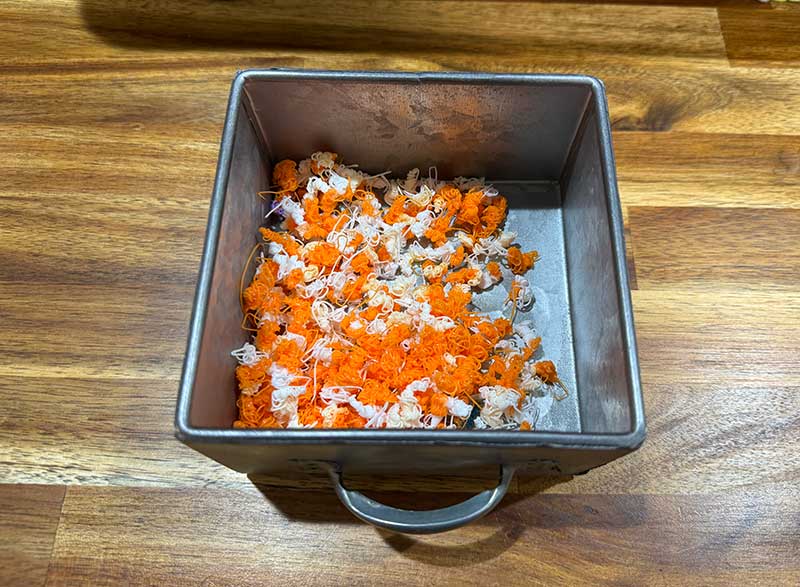
Look at all the poop created by this little fox charm. Yikes! This is something to keep in mind if you decide to print a multi-colored model that isn’t made up of individual parts that you could print in batches, one color each. When it comes to comfort, you have to pay for it 🙂
See it in action
If you’re watching this video, you’re probably wondering about the vibration you can see while printing. Although it vibrates quite a bit, it doesn’t cause any problems with the prints as this is taken into account during calibration.
What I like
- Easy to use
- Very little assembly effort
- AMS Lite automatically detects filament type and color (when using Bambu filament).
- FAST!
- Great quality prints
- Good price
What I would change
- A longer power cord would be great
Final thoughts
The Bambu Lab A1 Mini 3D Printer is a great little 3D printer for beginners like me and others who want to start printing small models that may or may not use multiple filament colors. I think this 3D printer is a great entry-level drug to the larger and more complex 3D printers that are on the market. Ok, I have to get back to researching a project I’m currently working on that will use the Bambu Lab A1 mini 3D printer. I mentioned this project in my “Favorite Gadgets of 2023” video… Check it out!
Price: $459.00 (with AMS Lite), $299.00 (printer only)
Where to buy: Bamboo Lab
source: The example for this review was provided by Bambu Lab.

